There is always more to it than you think! Vehicle signage Sydney are one of the most cost effective form of advertising that will last for 5+ years for a small initial financial outlay.
Removing decals might seem like a straight forward and simple task to the casual observer. With an endless array of vinyl graphics and sticks that can be found on vehicles, many people find themselves faced with the challenge to remove decals.
This can be to either replace an old decal with a new one, or to simply remove the existing decal that is either unwanted or has become old and worn out.
Like everything else in life, decals are not all created equal. With that being said, the decal removal process can be reduced down to 4 essential steps of the process for virtually every decal removal project.
The Many Shapes and Sizes
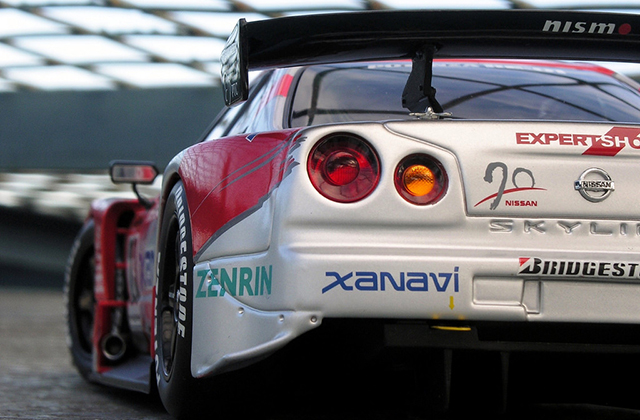
With modern advances in production, vehicle wraps and decals are only limited by one’s imagination. Just a few years ago, advertising on vehicles was limited to single color, vinyl graphics.
Now days, the industry has taken digital full color capabilities and applied it to the industry with what is called full vehicle wraps where literally, the entire vehicle can be “wrapped” in full color graphics. Now vehicles of every imaginable shape and size can become rolling billboards.
What Goes on, Often Must Come Off
Removing decals is becoming more and more a problem for people and companies looking to update new logos or advertising.
Many vehicle decal removal jobs can be performed by the Do-It-Yourselfer. My years of experience has taught me a few things along the way that can make your job of removing car decals less of a nightmare!
The Decal Removal Process
Regardless of the type of car emblems or vehicle decals you are removing, the process is always the same:
- Removal of top material layer
- Removal of underlying adhesive glue
- Removal of adhesive glue residue
- Repair or polishing of abraded underlying material
Removing vinyl decals or vehicle wraps can be broken down into those (4) steps. The same steps necessary in also removing car emblems and badges.
Removal of Top Layer
The top layer will be your first move in removing decals from your vehicle.
If the decals for removal are new and have not been in place for a particularly long time, it is possible to simply pick up an edge and peel the decal off.
Removing New Decals
If you watch the above video you can see how easily the new decal from the truck was able to be removed. If given the choice, removing decals from any vehicle is best when they are brand new.
But removing decals are often a forced requirement due to the aging process rather than a deliberate choice as represented with the truck owner in the above video.
Using Heat Gun to Remove Decals
Most people will come to this page already having heard of using a heat gun to remove decals of any kind.
While this way is often effective if the decal has not degrading past the point of no return, it is still very time consuming and limited to decals that can be heated up and remain intact so that you are able to peel the decal off once the adhesive of the deal itself has been heated up where it begins to release from the surface the decal is stuck to.
If the decal to be removed appears to have no cracking what so ever to it, then the heat gun will likely prove the first choice for most people.
With that said, as a professional, I know I can speed the process up using one of the many types of decal removal tools available. To connect with our professional decal removal, click here.
Removing Decals the Quick and Easy Way
Since most of you will be faced with removing decals that have been in place for long periods of time, there is a straight forward way in which to safely remove decals from virtually any surface using the various types of decal removal tools.